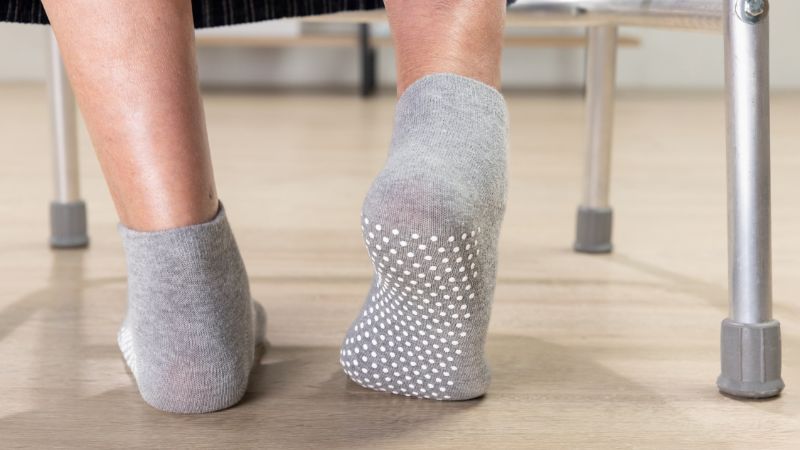
Grip socks have become an indispensable accessory for yogis, pilates enthusiasts, and anyone navigating slippery indoor surfaces. These grip socks provide essential traction to prevent slipping, thereby enhancing focus and stability during practice.
While popular brands offer a variety of non-slip socks, there’s a unique satisfaction and creativity in crafting your own. DIY grip socks are not only a fun project but also a fantastic way to customize your gear, match your style, and save money.
Whether you want to make your own grip socks for a special activity like yoga, ballet, or a trampoline park, or need no-slip socks for at home, this step-by-step guide will show you just how to make grip socks with professional-looking results.
Essential Materials You Will Need
Before you begin, gather your supplies. Most of these items can be found at craft stores or online:
- A pair of socks: Choose a high-quality, breathable pair of socks. Cotton, bamboo, or a cotton-blend work well. Ensure they are clean and completely dry. For best results, select socks with a flat, smooth sole rather than a heavily textured one, as this provides a better surface for the grip patterns.
- Gripping Agent: This is the most crucial material. You have two excellent options:
- Dimensional Fabric Paint (Puffy Paint): This is the top choice for DIY projects. Brands like Tulip are widely available and come in a vast array of colors, including glow-in-the-dark puffy paint. It’s flexible, washable, and provides excellent traction.
- 100% Clear Silicone Caulk: A less colorful but highly effective alternative. It creates clear, flexible silicone grips that are very durable. Ensure it is 100% silicone without any additives like mildew resistance, which could be harmful to skin.
- Cardboard: A piece of cardboard larger than your foot. This is inserted into the sock to prevent the paint or glue from bleeding through to the other side.
- Design Template (Optional): If you want precise shapes or patterns (like circles, waves, or logos), you can create a stencil from vinyl or sturdy paper.
- Painting Tools: Depending on your method, you may need a small paintbrush (for silicone) or the built-in nozzle of the paint bottle. For silicone, a small spatula or popsicle stick can also be useful for spreading.
- Well-ventilated area: Work in a space with good air circulation while you apply the paint.
Choosing Your Grip Pattern
The pattern you apply is key to both function and style. The goal is to create a series of raised dots or lines that will make contact with the floor to avoid slipping.
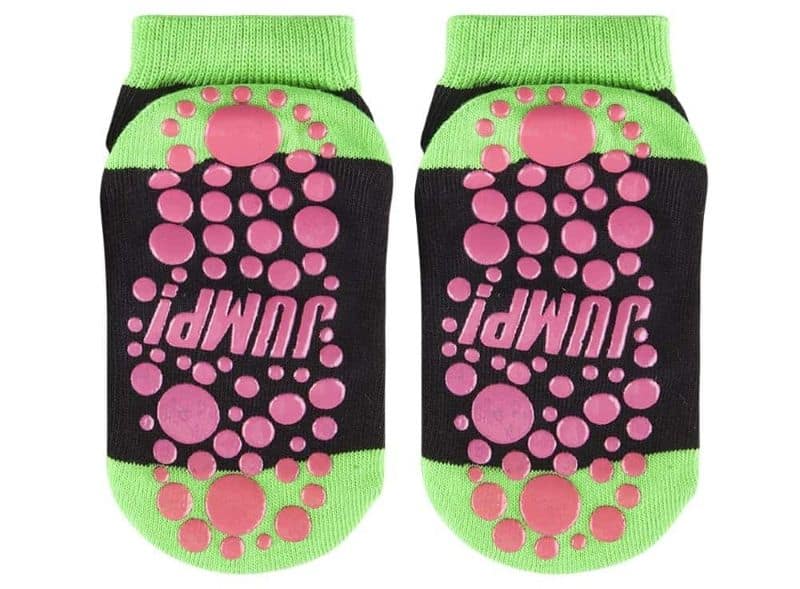
- Simple Dots: This is the most common and effective pattern. Cover the sole, especially the ball of the foot and the heel, with an array of small dots. This maximizes surface contact.
- Lines and Waves: Applying curved or zig-zag lines can also provide good traction and allows for more creative designs.
- Combination: Mix dots and lines for a custom look. Just ensure the coverage is even and thorough across high-pressure points.
Avoid covering the entire sole in a solid layer of paint, as this can reduce flexibility and breathability. The goal is strategic texture.
A Step-by-Step Guide
Follow these instructions carefully to create durable, effective non-slip grip socks.
Step 1: Prepare Your Workspace and Socks
Lay down newspaper or a protective sheet on a flat surface. Ensure your socks are clean, dry, and free of any lint.
Step 2: Insert the Cardboard
Slide the piece of cardboard inside one sock. Smooth it out so that the sole of the sock is taut and flat. This critical step prevents the adhesive from seeping through and glueing your sock shut. It also provides a firm, stable surface to work on.
Step 3: Design and Apply the Grip Pattern
This is the main event. Shake your bottle of puffy paint or prepare your silicone.
Using Puffy Paint:
- Hold the bottle upright and gently squeeze to form a small dot on the sole. Start around the ball of the foot and the heel—the areas that bear the most weight and are most likely to cause slipping.
- Continue creating your pattern. If you are doing dots, space them about half an inch to an inch apart. You can make them uniform or vary the sizes (often making them thicker on the heel and ball for more durability).
- If you are using a stencil, secure it onto the sock with a small piece of tape and carefully paint within the lines.
- Remember, less is more. A moderate amount of paint will create a perfect, grippy bump. Too much will take forever to dry and may crack.
Using Silicone:
- If using a tube, you can snip a very small hole at the end and apply dots directly, similar to the paint.
- For more control, squeeze a small amount of silicone onto a paper plate and use a small paintbrush or toothpick to pick it up and dab it onto the sock in your desired pattern.
- You can also use a spatula to spread a thin layer and then use a tool to create textures like waves before it sets.
Step 4: Let It Dry Completely
This is the step that requires the most patience. Carefully move the sock (with the cardboard still inside) to a safe place where it won’t be disturbed. Puffy paint can take anywhere from 4 to 8 hours to dry to the touch, but for full curing and maximum durability, it is best to let it dry completely for a full 24 hours. Do not rush this process. The paint must be fully cured to prevent it from smearing or transferring onto your floor.
Step 5: Repeat and Remove the Cardboard
Once the first sock is completely dry, gently remove the cardboard. It should peel away easily. Insert the cardboard into the second sock and repeat the entire process. Consistency is key—try to replicate the pattern and density of grips on the second sock so they perform equally.
Step 6: The Final Cure and Test
After both socks are dry to the touch and the cardboard is removed, some crafters recommend letting them air dry for another few hours without the cardboard to ensure the very inside is fully set. Once you are confident they are dry, your DIY non-slip socks are ready to wear!
Test them out on a safe, smooth surface like a hardwood or tile floor. You will immediately notice the increased friction and grip. Enjoy your new-found stability.
Tips for Success
Wash First: Always start with clean, freshly washed socks (no fabric softener). This removes any oils or residues that could prevent the paint or silicone from adhering.
Less is More: It’s easier to add more paint/silicone than to remove it. Start with a thin layer.
Simple Patterns: Simple dots and lines are often the most effective for grip.
Be Patient: The most important step is allowing everything to dry and cure completely. Rushing this will ruin your project.
FAQs
1. What type of socks work best for this DIY project?
High-quality cotton, bamboo, or cotton-blend socks with a flat, smooth sole (rather than a heavily textured one) are ideal. This provides a better surface for the grip patterns to adhere to and function effectively.
2. Can I use regular acrylic paint instead of puffy paint?
No. Regular acrylic paint will dry hard and crack, making the socks uncomfortable and non-functional. Dimensional fabric paint (puffy paint) is flexible, washable, and designed to create a rubbery, grippy texture.
3. How long do the grips last? Will they survive the washing machine?
Yes, if applied correctly and allowed to cure fully (24 hours), the grips are machine washable. Turn the socks inside out and wash them in cold water on a gentle cycle. Avoid bleach and fabric softener. Air drying is recommended to preserve the grips longer.
4. Is silicone caulk safe to use on socks?
Yes, 100% clear silicone caulk is safe once fully cured. Ensure it is pure silicone without any additives like mildew resistance. Let it cure completely for 24-48 hours to allow any solvents to evaporate fully.
5. My grips are still tacky after drying. What went wrong?
This usually means they need more time to cure. Puffy paint can feel dry on the surface but still be soft underneath. Leave them in a well-ventilated area for another 12-24 hours. Applying the paint too thickly can also significantly extend drying time.
6. Can I make grips on the top of the foot as well?
While you can, the primary functional grips should be on the sole (ball, heel, toes) as these make contact with the floor. Grips on the top are purely decorative.